WEEK 7
ARDUINO EXPLORATIONS

FIRST EXPERIMENT WITH ARDUINO
Right from the batch, I had an issue. After downloading the software and writing the code, my LED light wouldn’t light up.
I remember during the Arduino session last week, the light was supposed to blink to show that the Arduino board was working. After some frustrations and no change, Tanishqa, told me that the LED light doesn’t work without a battery. Also, the light is not supposed to blink on the top of the Arduino, but rather below.
It worked all along! I continued following the instructions from the (website), but nothing happened. Tanishqa tried it on her laptop and it worked?
Figuring out the problem. The code worked on Tanishqa's Arduino, but not mine, even though we had the same code.
The day after, Andreas came to the studio which gave me the perfect opportunity to ask for help. The problem was the wires not working properly. For the potentiometer, the wires were in the wrong pole, whereas for the LED, it itself wasn’t working. Even if these were small issues, it helped me be more aware of how to correctly assemble the Arduino.
Fixed the problem. The potentiometer works.
Fixed the problem. The button works too.

FIXING DIABETIC RETINOPATHY IN P5.JS
Thanks to Shalom, he suggested I use the translate function in p5.js, which we learned during year 1. I can use translate to specify an amount to displace the ellipse within the screen.
-

Diabetic retinopathy. The problem was that the ellipses wouldn't show up outside a certain amount on the x and y axis.
-
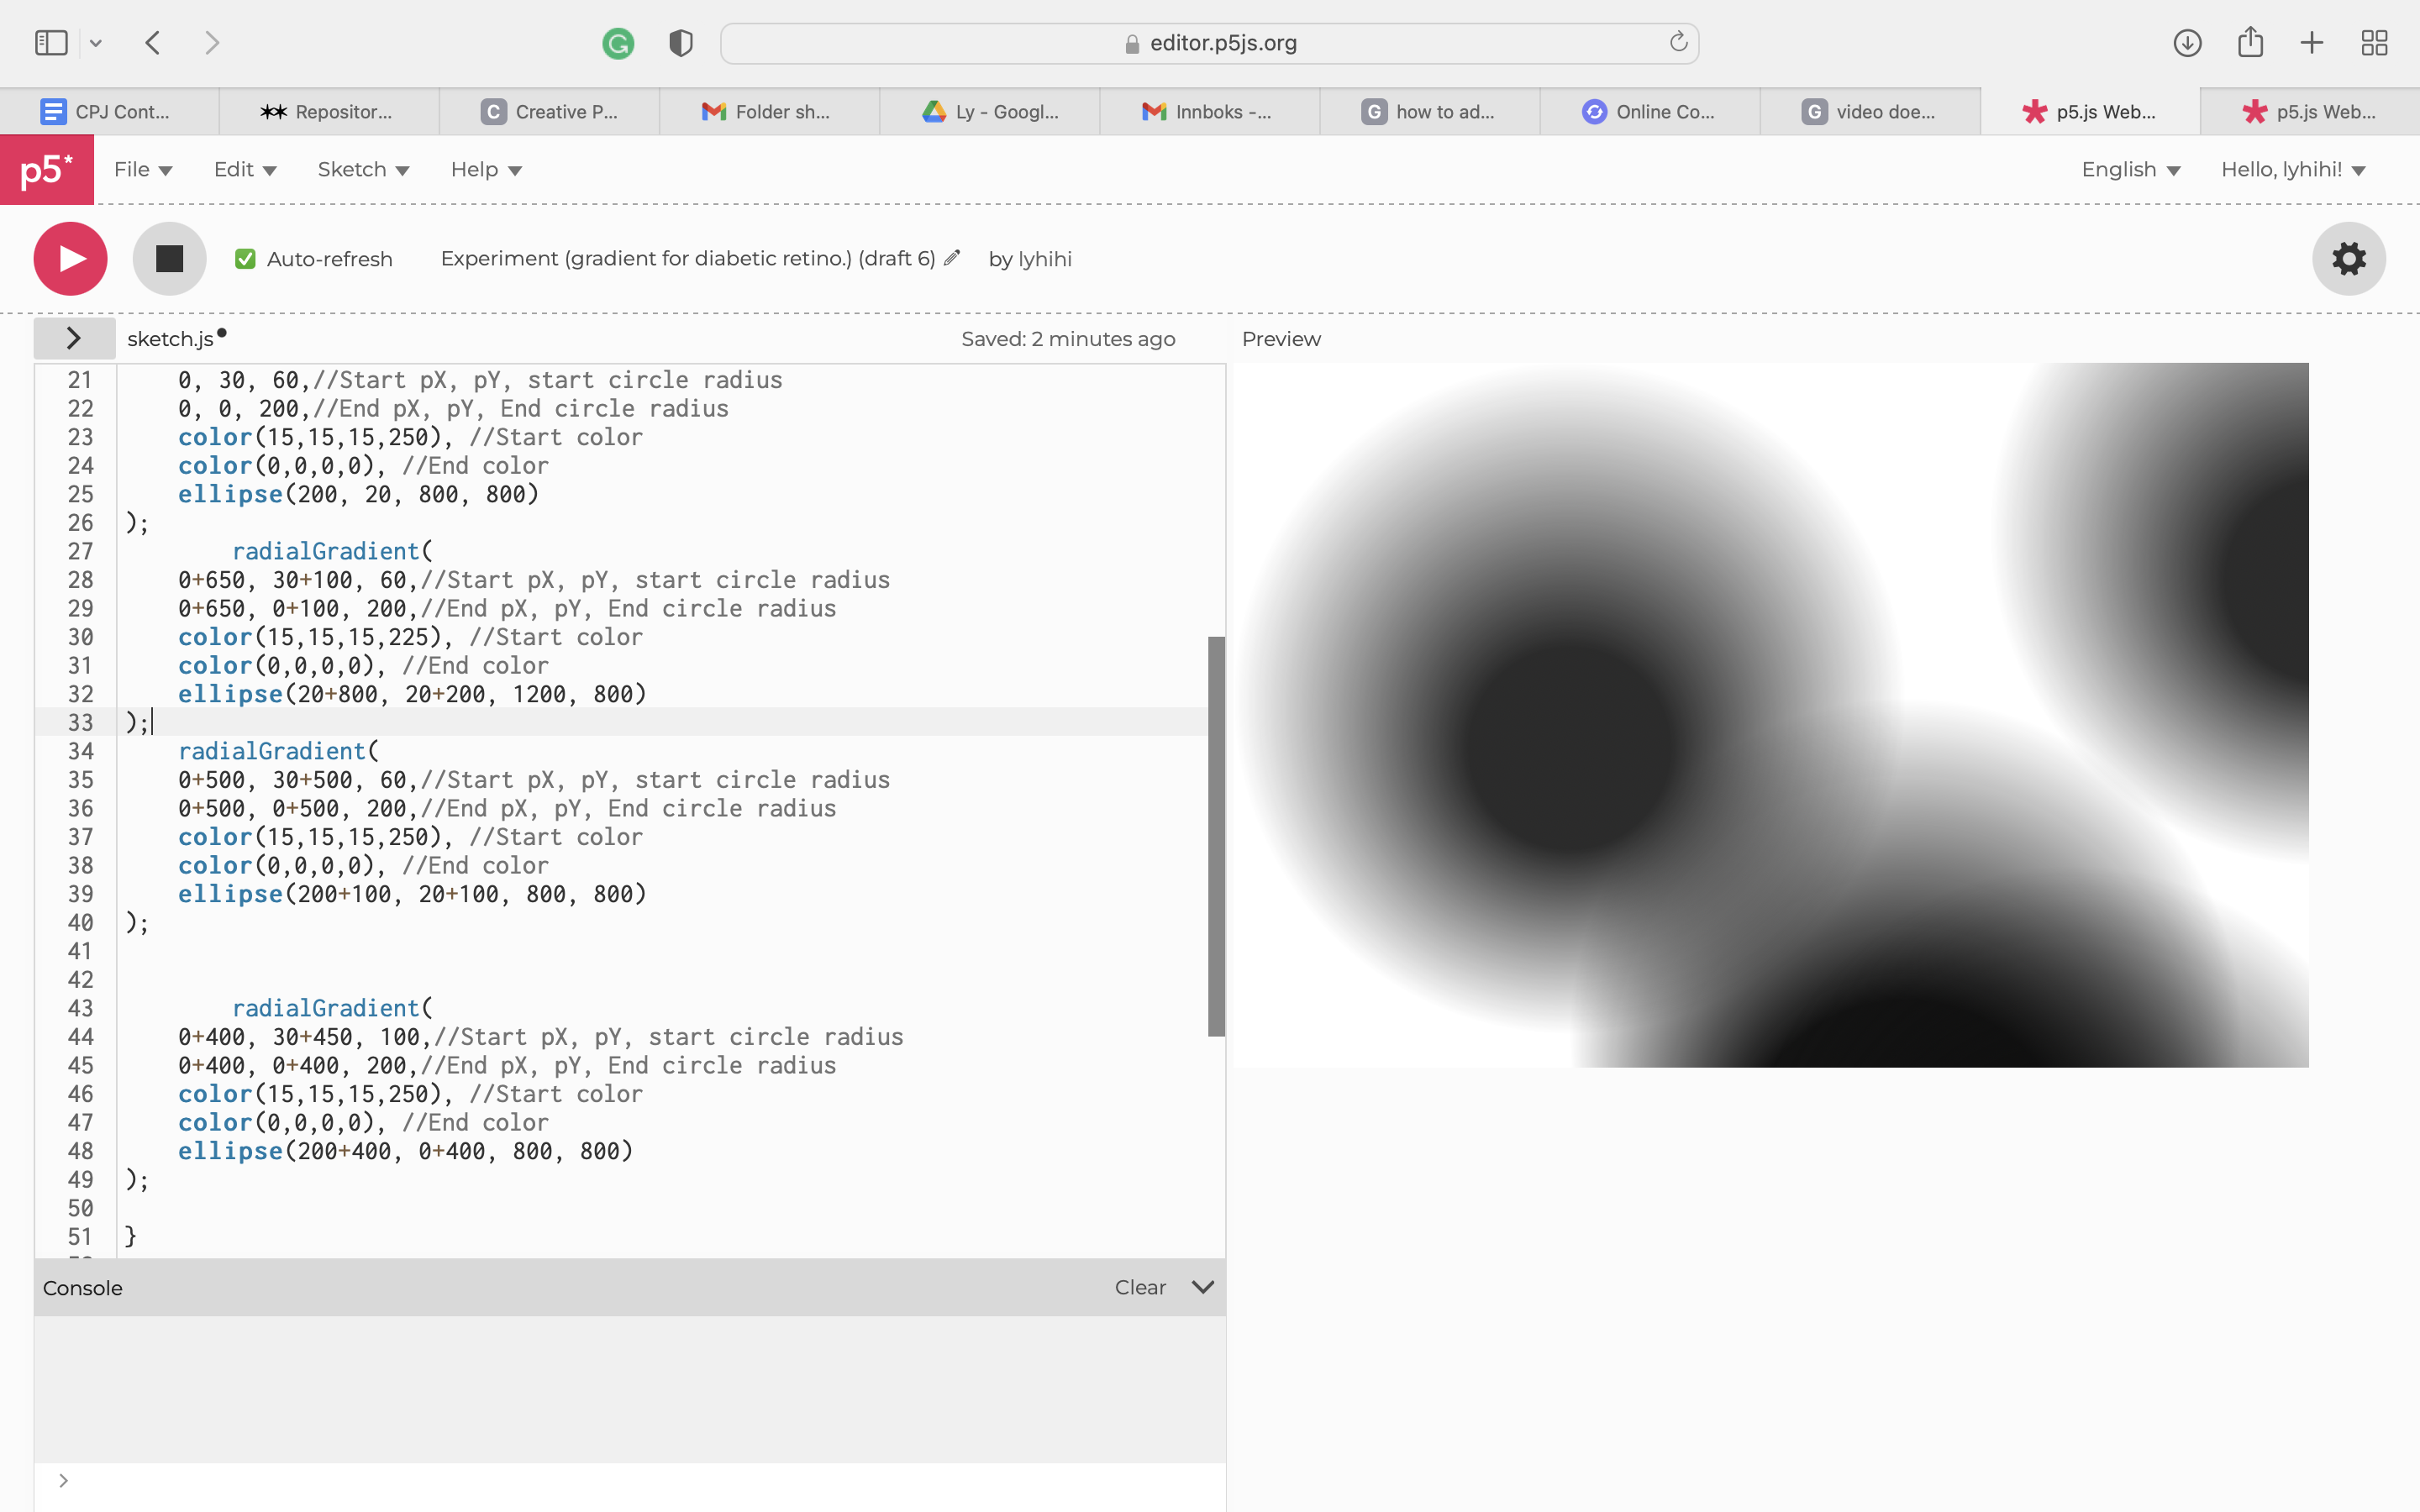
Diabetic retinopathy. Fixed.


PREPARATION OF THE CATALOGUE OF MAKING
Mini booklet
The Catalouge of Making should show my experiments in a visual manner. With the photos I previously took of my mini booklet, it is evident that the lighting is not good. Since the lighting looks different in every photo, I retook the photos and used Photoshop to adjust and increase the brightness and contrast. The background was removed to create a cleaner look when added to the website.
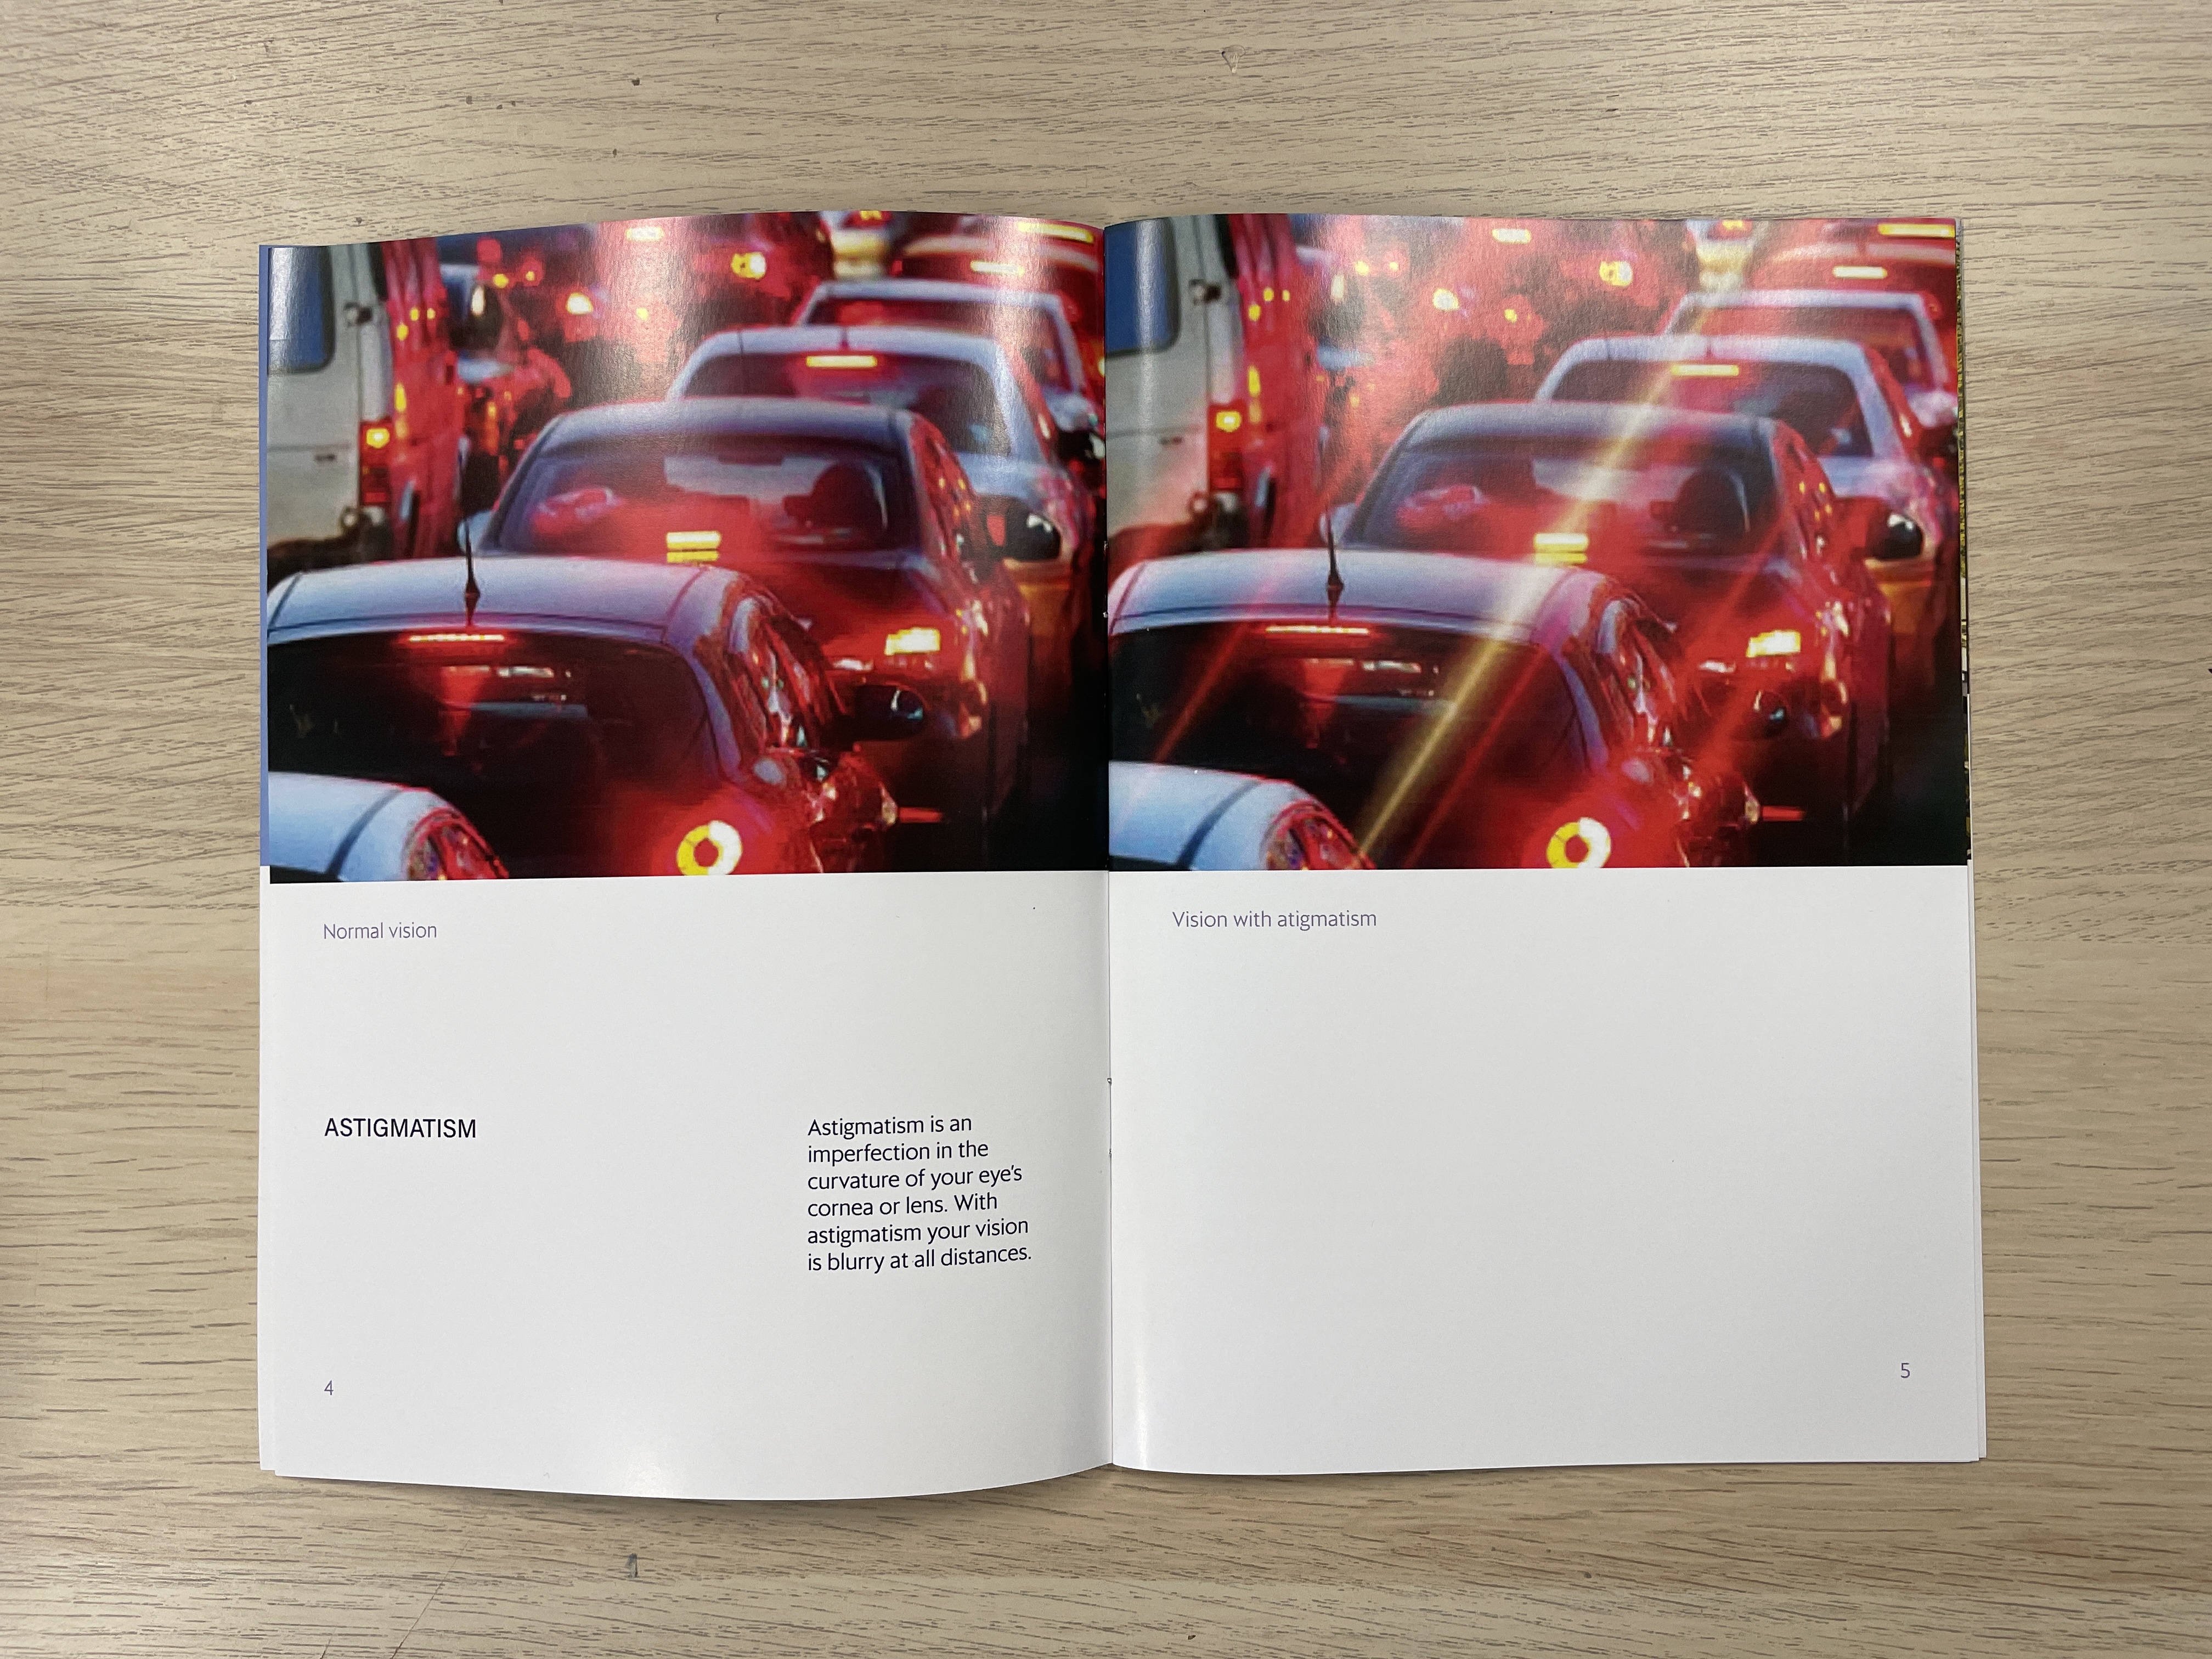
Process. Photo of the book without any editing.
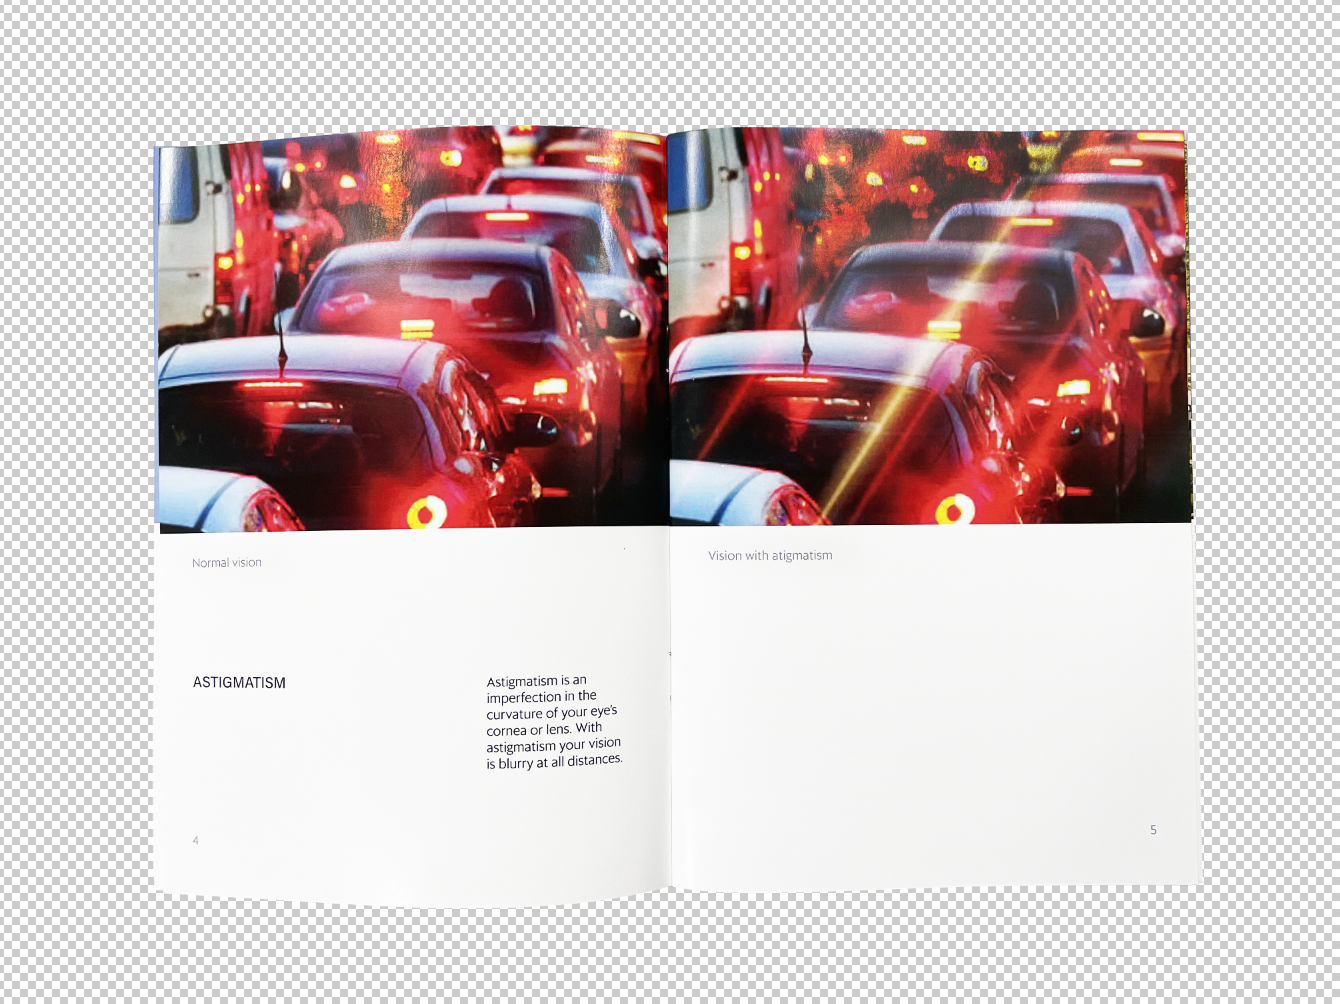
Process. Editing in Photoshop.
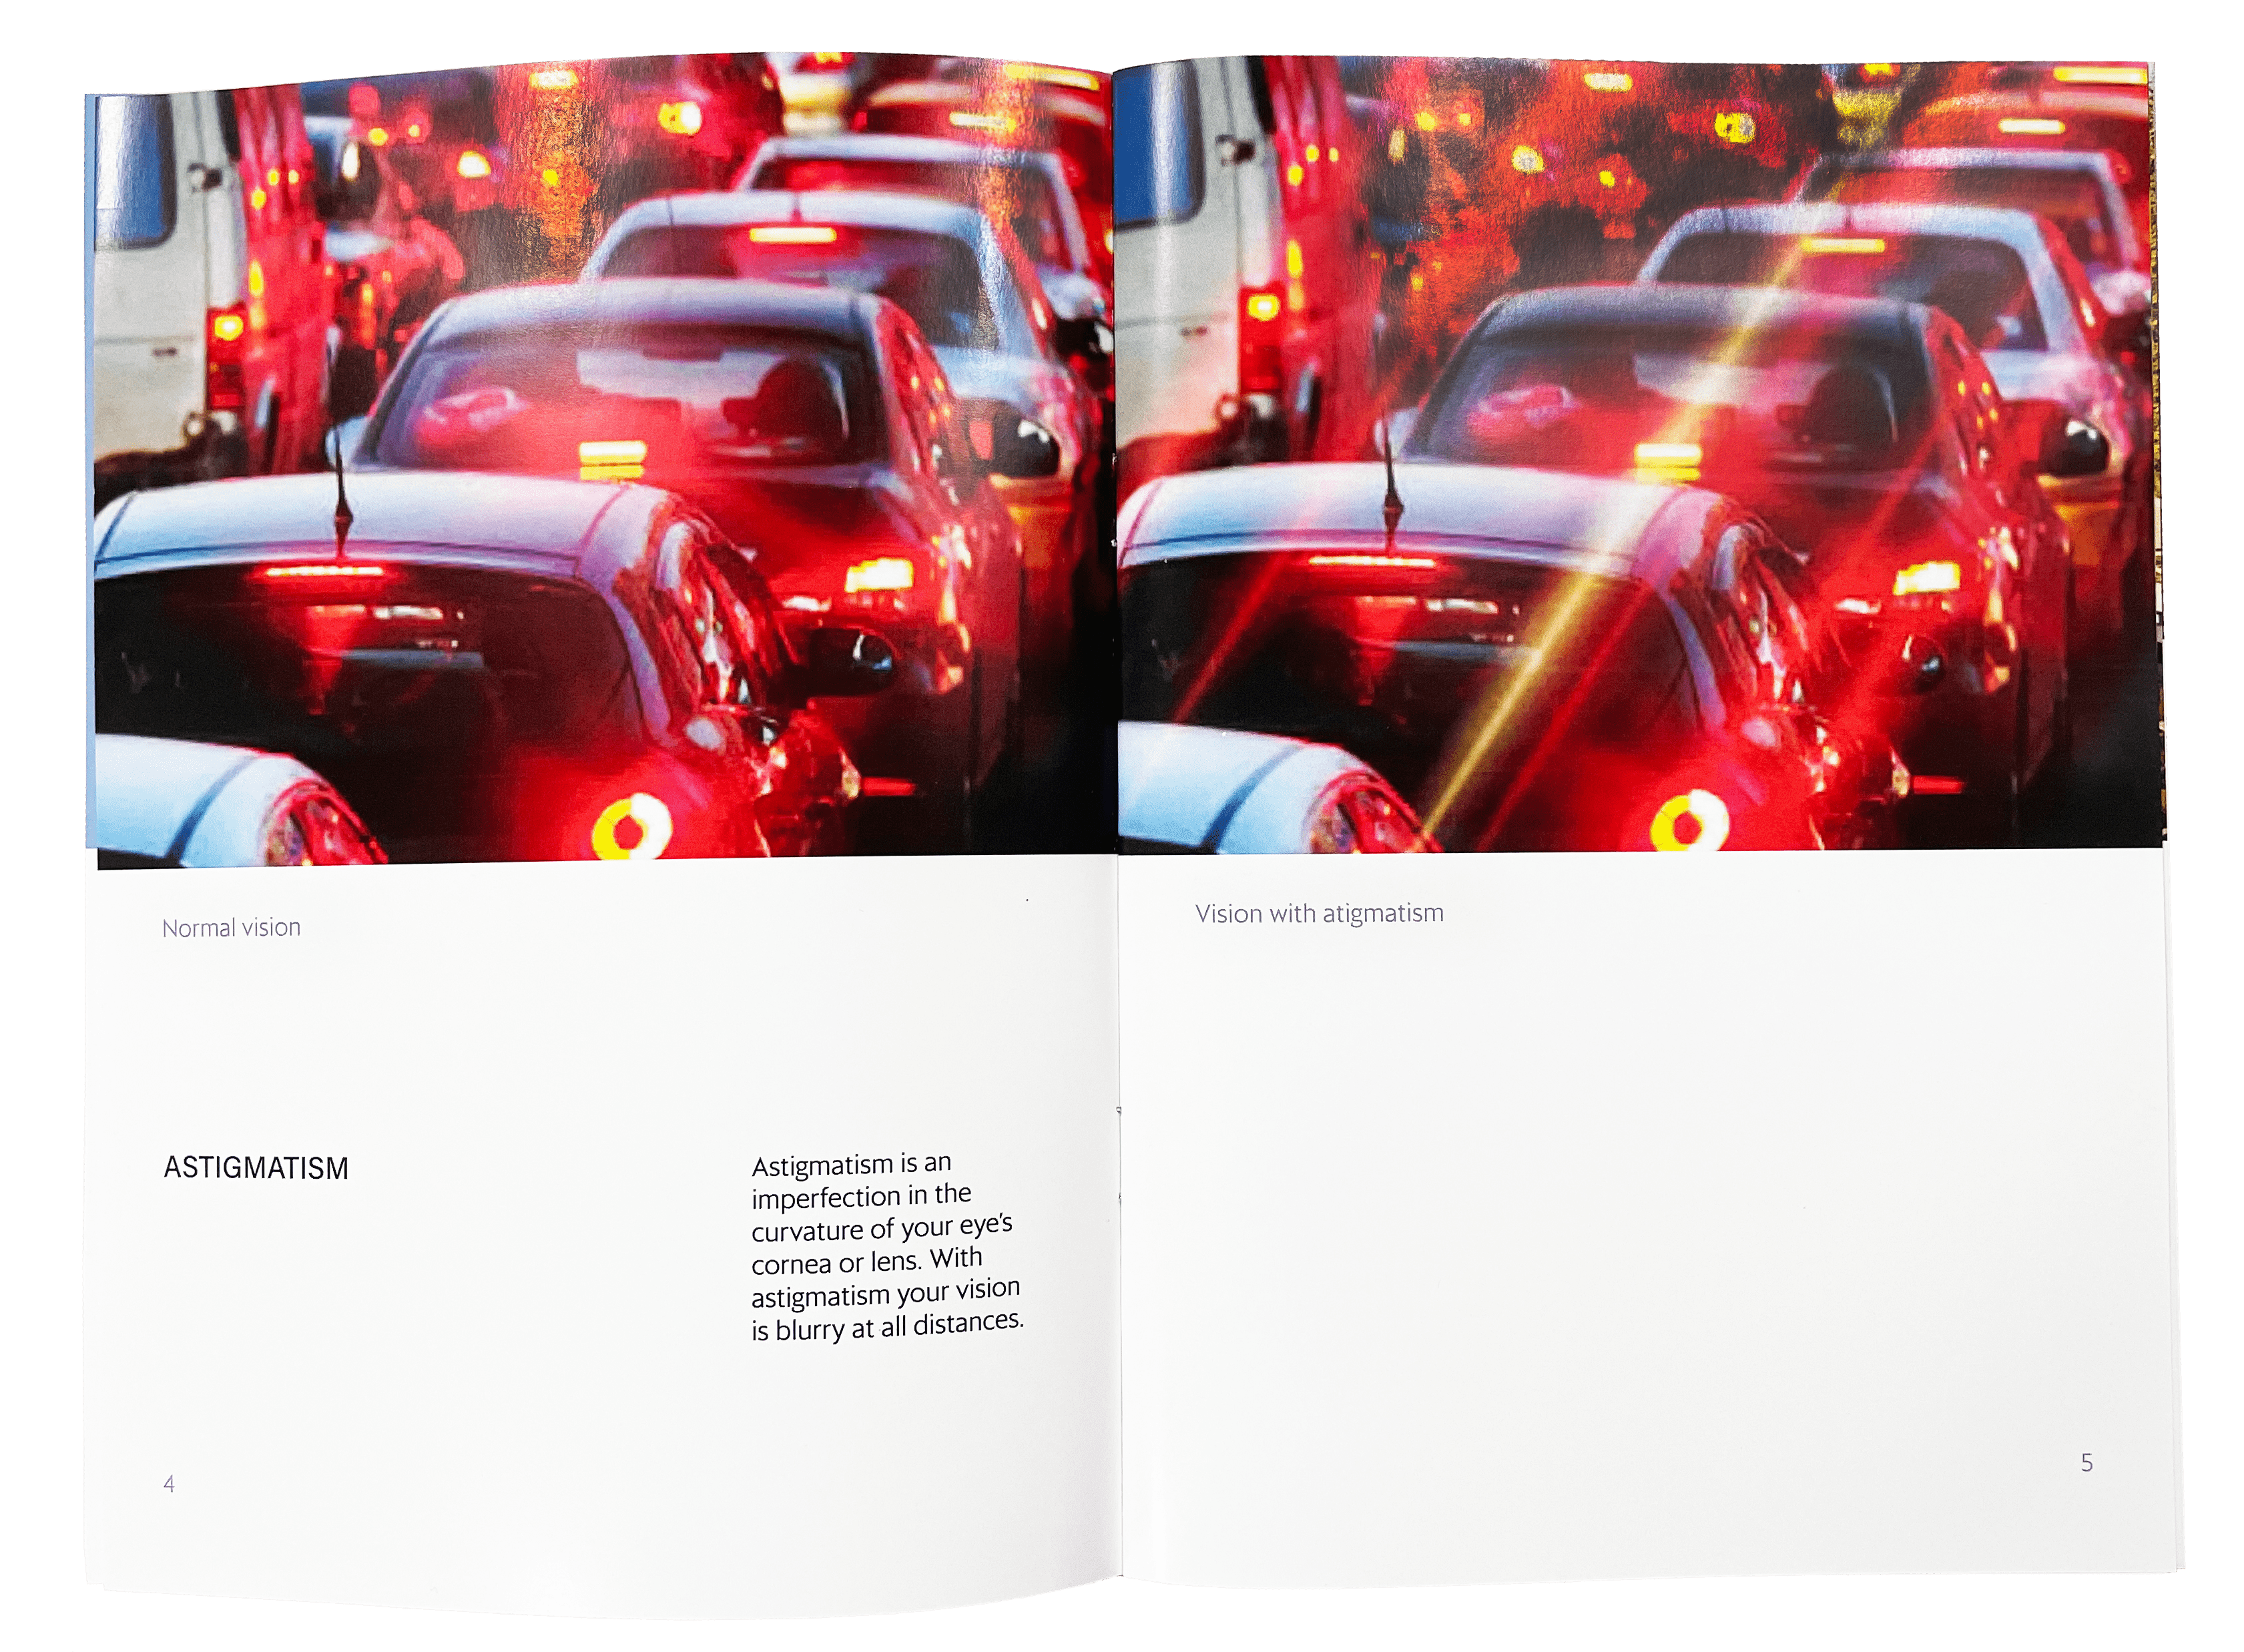
Final result of the image.
P5.JS EXPERIMENTS
Since I’m not really keen on showing my face in the Catalouge of Making, I plan on using photos and/or
videos instead.
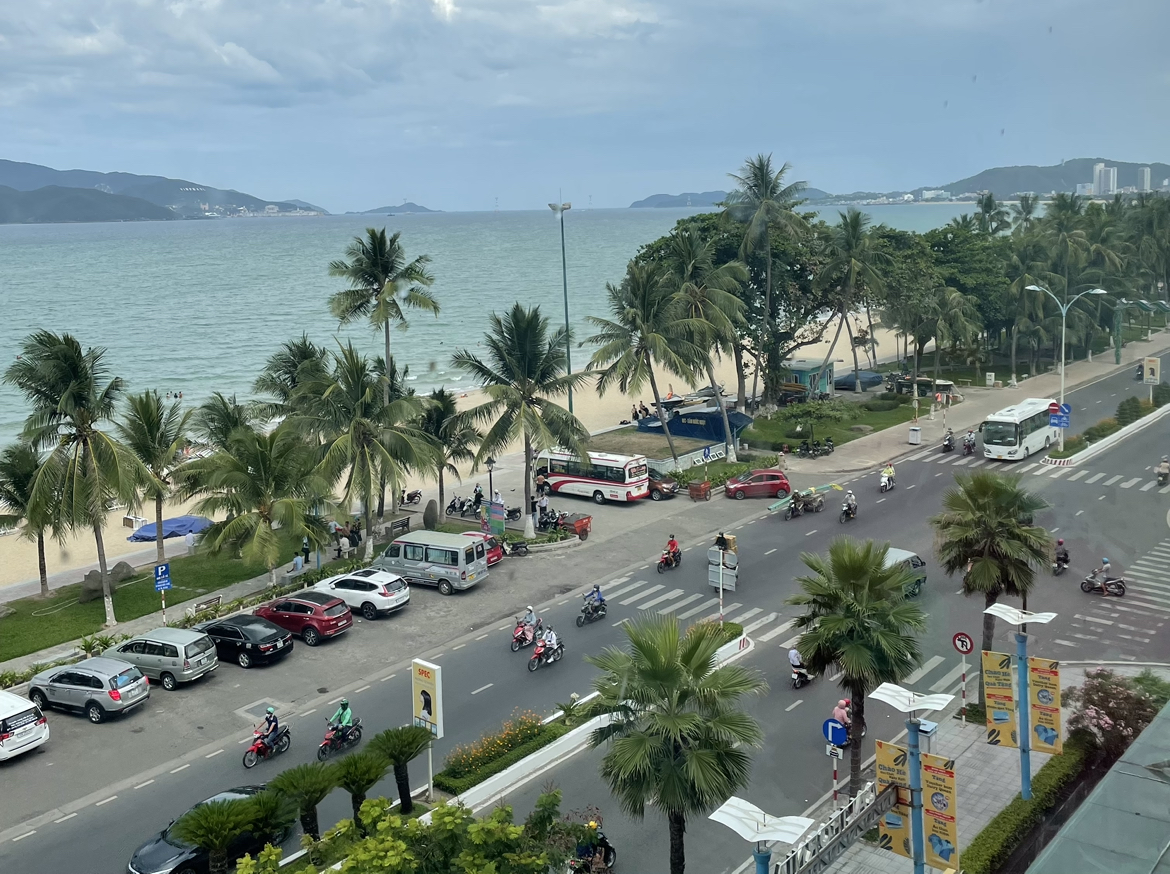
The reason why I chose this photo is because it shows an environment in which a lot of us are used to
seeing. Maybe we can empathise more because we’re not used to seeing a familiar environment with vision
loss.


Issue
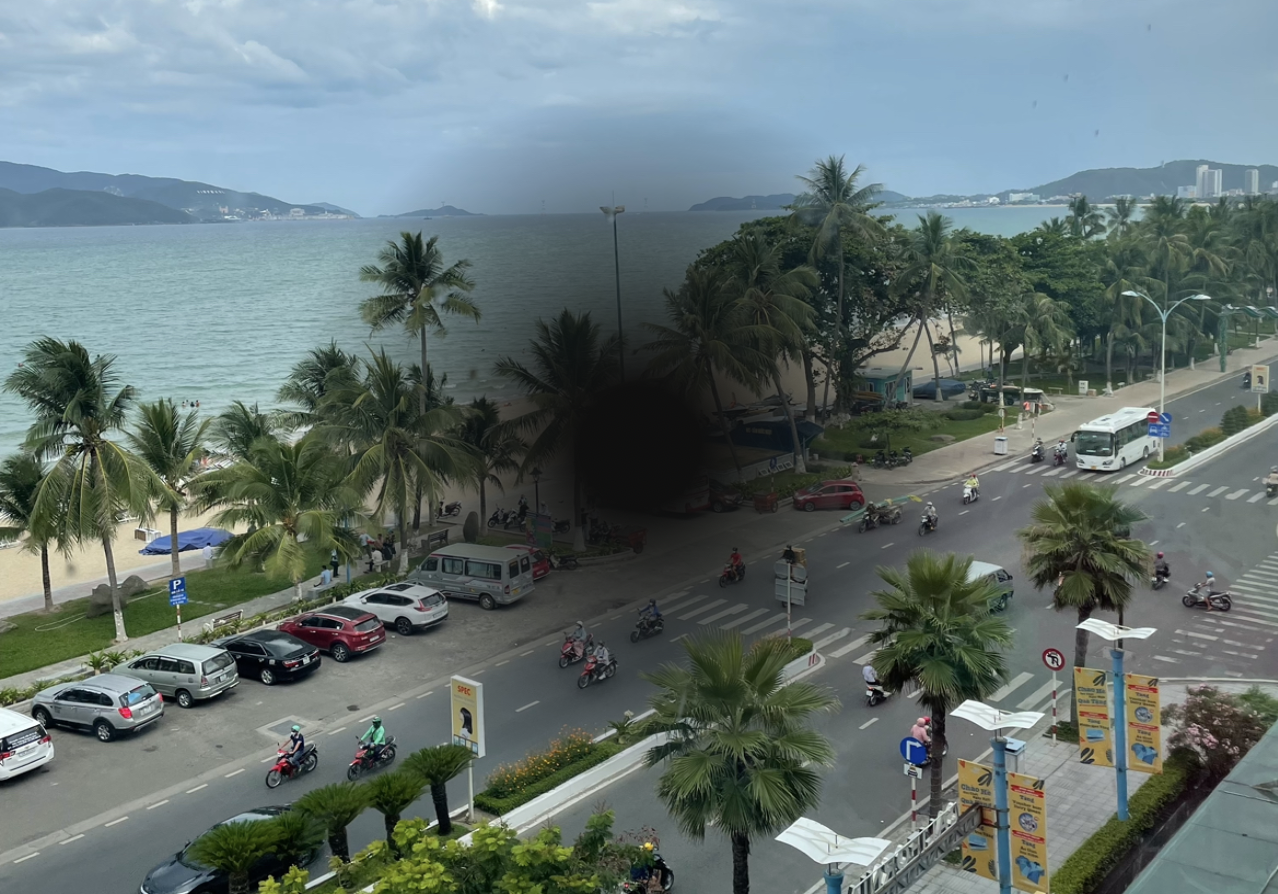
The vision loss looks different from how I made it.
To solve the issue I put in background(img); under function draw().


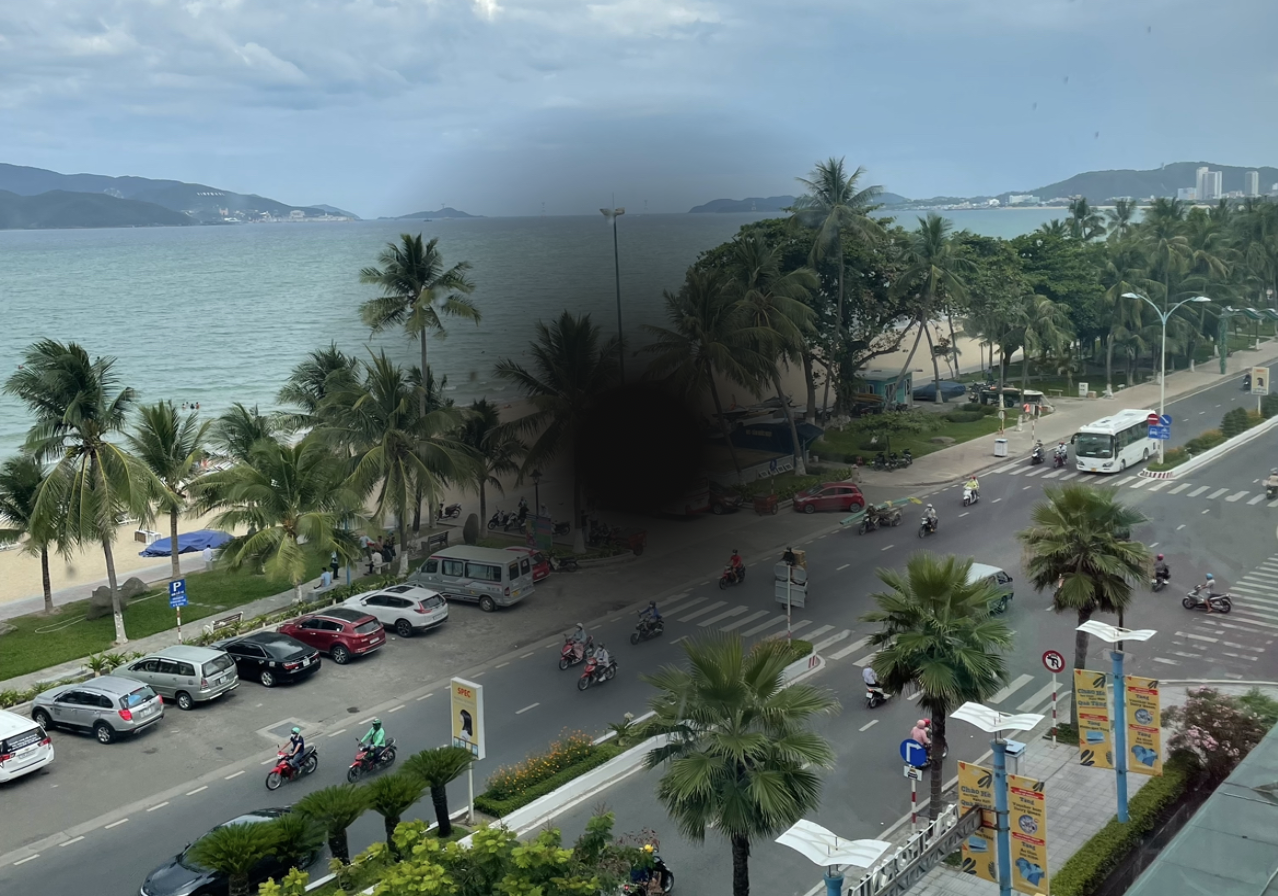
Macular degeneration. With photo.
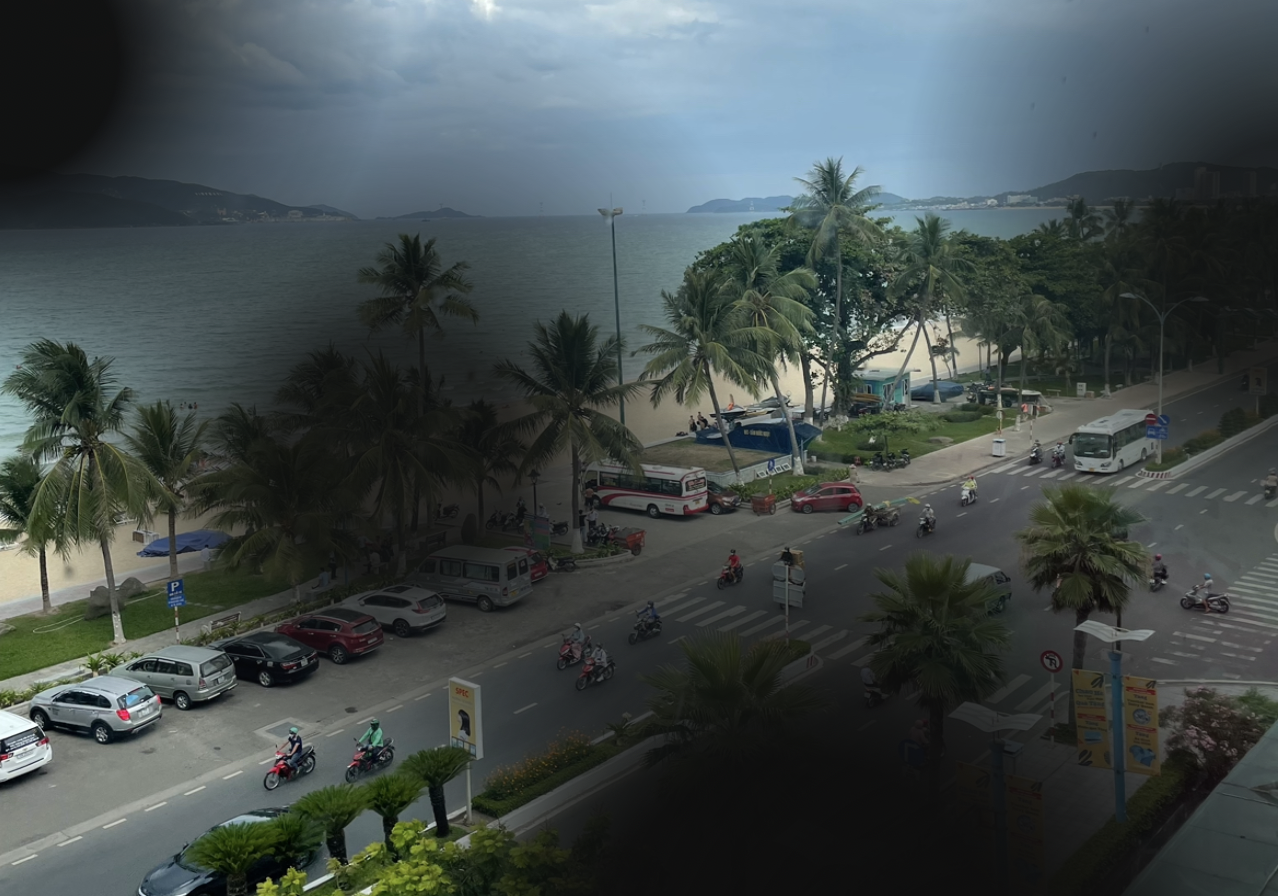
Diabetic retinopathy. With photo.
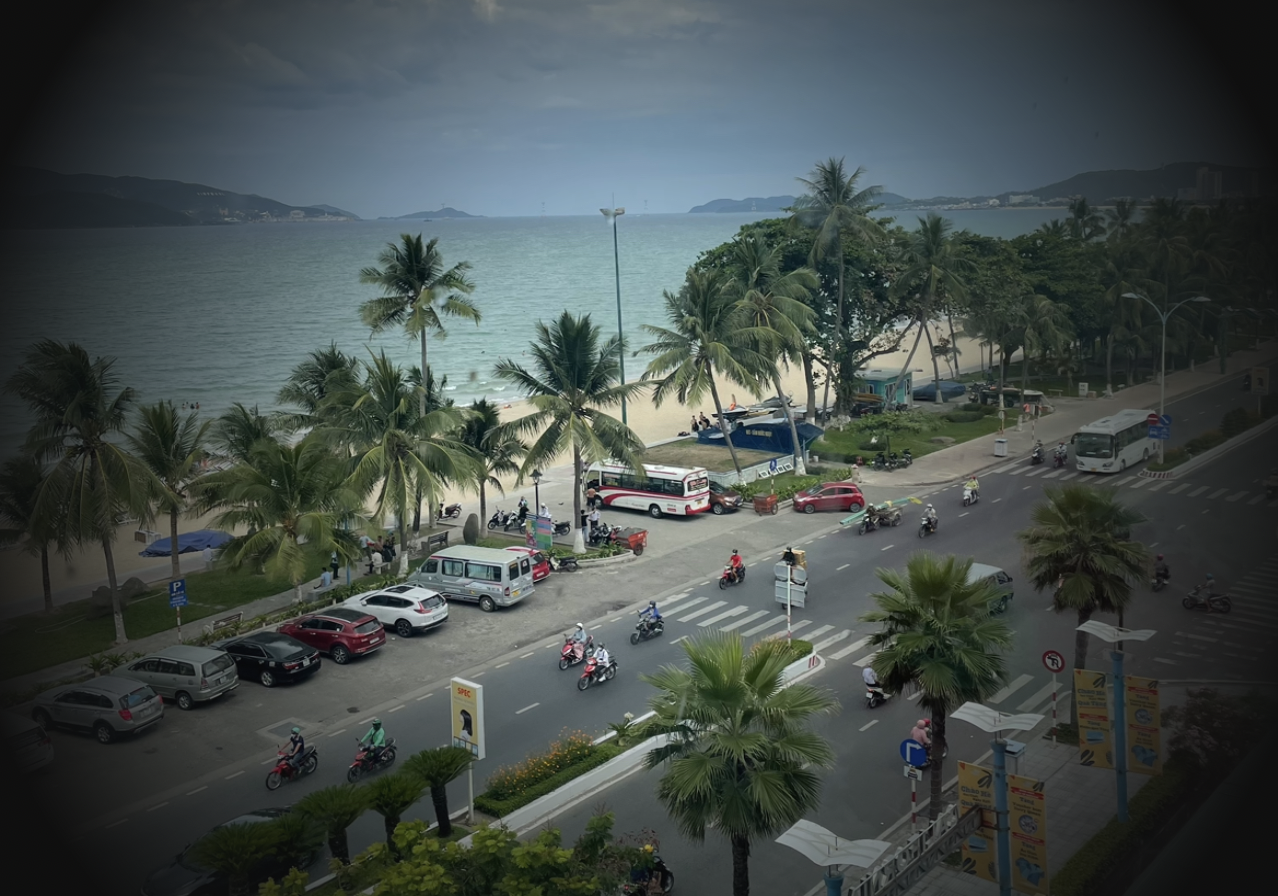
Glaucoma. With photo.
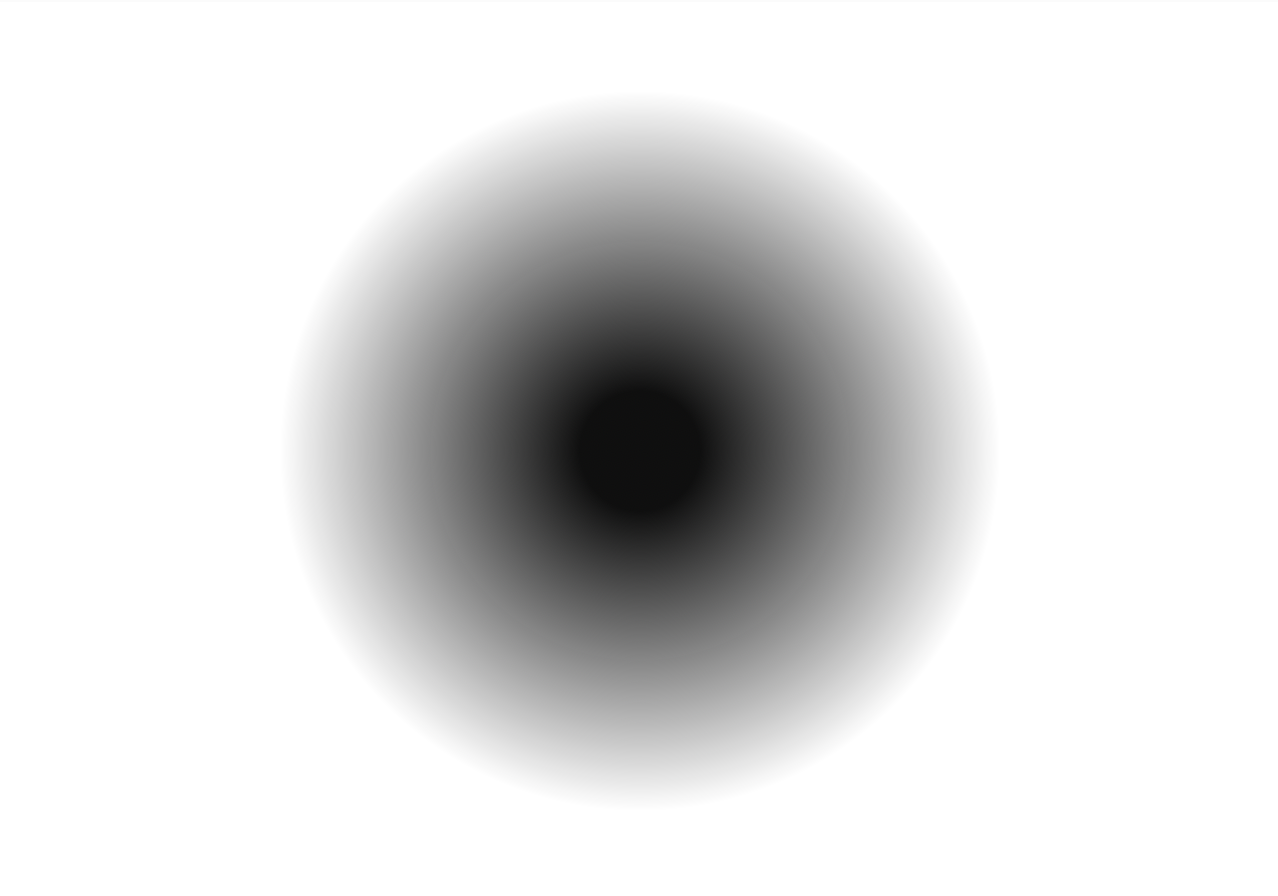
Macular degeneration. With photo.

Diabetic retinopathy. With photo.

Glaucoma. With photo.
I think this experiment works well in showing how someone with visual impairments sees the world. However, I do think it can improve. Maybe I can do a video instead? A video from a visually impaired’s point of view? (Something different from a web camera which I have already done).

WEEKLY ROUNDUP
I can tell I’m not fully skilled in the software and hardware I am using, which honestly is a bit
frustrating as I constantly encounter issues – but it’s okay! I am surprised how I managed to fix them
instead of giving up (hehe). I have been making sure to give myself time to reflect, observe, analyse,
and be patient. It shows how much I am dedicated to this project, and won’t let the temptations of the
easiest and fastest solution take hold of me.
Next week is project week which means I will set aside time to finish my RPO before submission on week
9.
