WEEK 14
WORK CONTINUES
PLANNING ON GETTING IN TOUCH WITH MY TARGET AUDIENCE
Looking ahead, I think it’s crucial for me to establish some information and knowledge about both designers and visually impaired I can employ into my design process.

VISUAL IMPAIRED AND PROFESSIONALS WORKING WITH VI
I am currently in the process of finding visually impaired participants for a casual interview during the break. In my search, I came across the article “Guidance for Best Practices in Participatory Design Involving People with Visual Impairment” by Hyung Nam Kim, which I think will provide valuable information to guide me on this endeavor.
BEFORE THE DESIGN PRACTICE
FINDING PARTICIPANTS

MAKING CONTACT
Individuals with visual impairment encounter challenges in accessing the same information that is available to sighted individuals via traditional forms of communication like printed materials. Therefore, designers should use diverse methods to communicate information about participation opportunities to potential participants. A week after the initial contact, designers may follow up with representative groups to inquire if any potential participants have shown interest. However, it is advisable to avoid excessive contact within a short time frame.

GATEKEEPERS
Designers might explore recruiting participants while collaborating with “gatekeepers”, such as health professionals and community organizations, who have direct access to potential participants. However, gatekeepers may express concerns about safeguarding community members from potentially suspicious information, such as scams, and may be hesitant to share details. In such cases, designers should provide assurances to gatekeepers the scientific nature of their study, and that the risk to participants is minimal, with the benefits outweigh the risks.

TIME MANAGEMENT
To ensure project timelines to stay on course, designers should incorporate “buffer time” into their project management to keep their project on track. Additionally, designers should refrain from scheduling design sessions, such as interviews, in the morning. Visually impaired may require additional time to take care of daily tasks in the morning.

PREPARATION OF ACCESSIBLE INFORMED CONSENT FORM
Various alternative formats should be accessible, such as lare-print, e-text, digital audio, and braille, all while ensuring that the content remains consistant with standard formats. Designers are advised to utilize bold black print on a matte white or cream background, and avoid using any graphics. To further enhance the readability, there should be a strong contrast between the print and background.
The next step is to find design studios who are working with designing for disabilities, to better know their approach to designing for this community.


CHECKING IF THE SLIDER WORKS
I did a test to check for the values, and fortunately, there were values registered on the serial monitor. In the video below, you can observe the dynamic changes in values as I slide the “metal ball” down the slider.
-
The values changing as I drag the "metal ball".


EXPERIMENTING WITH SLIME FOR THE BUTTON PROTOTYPE
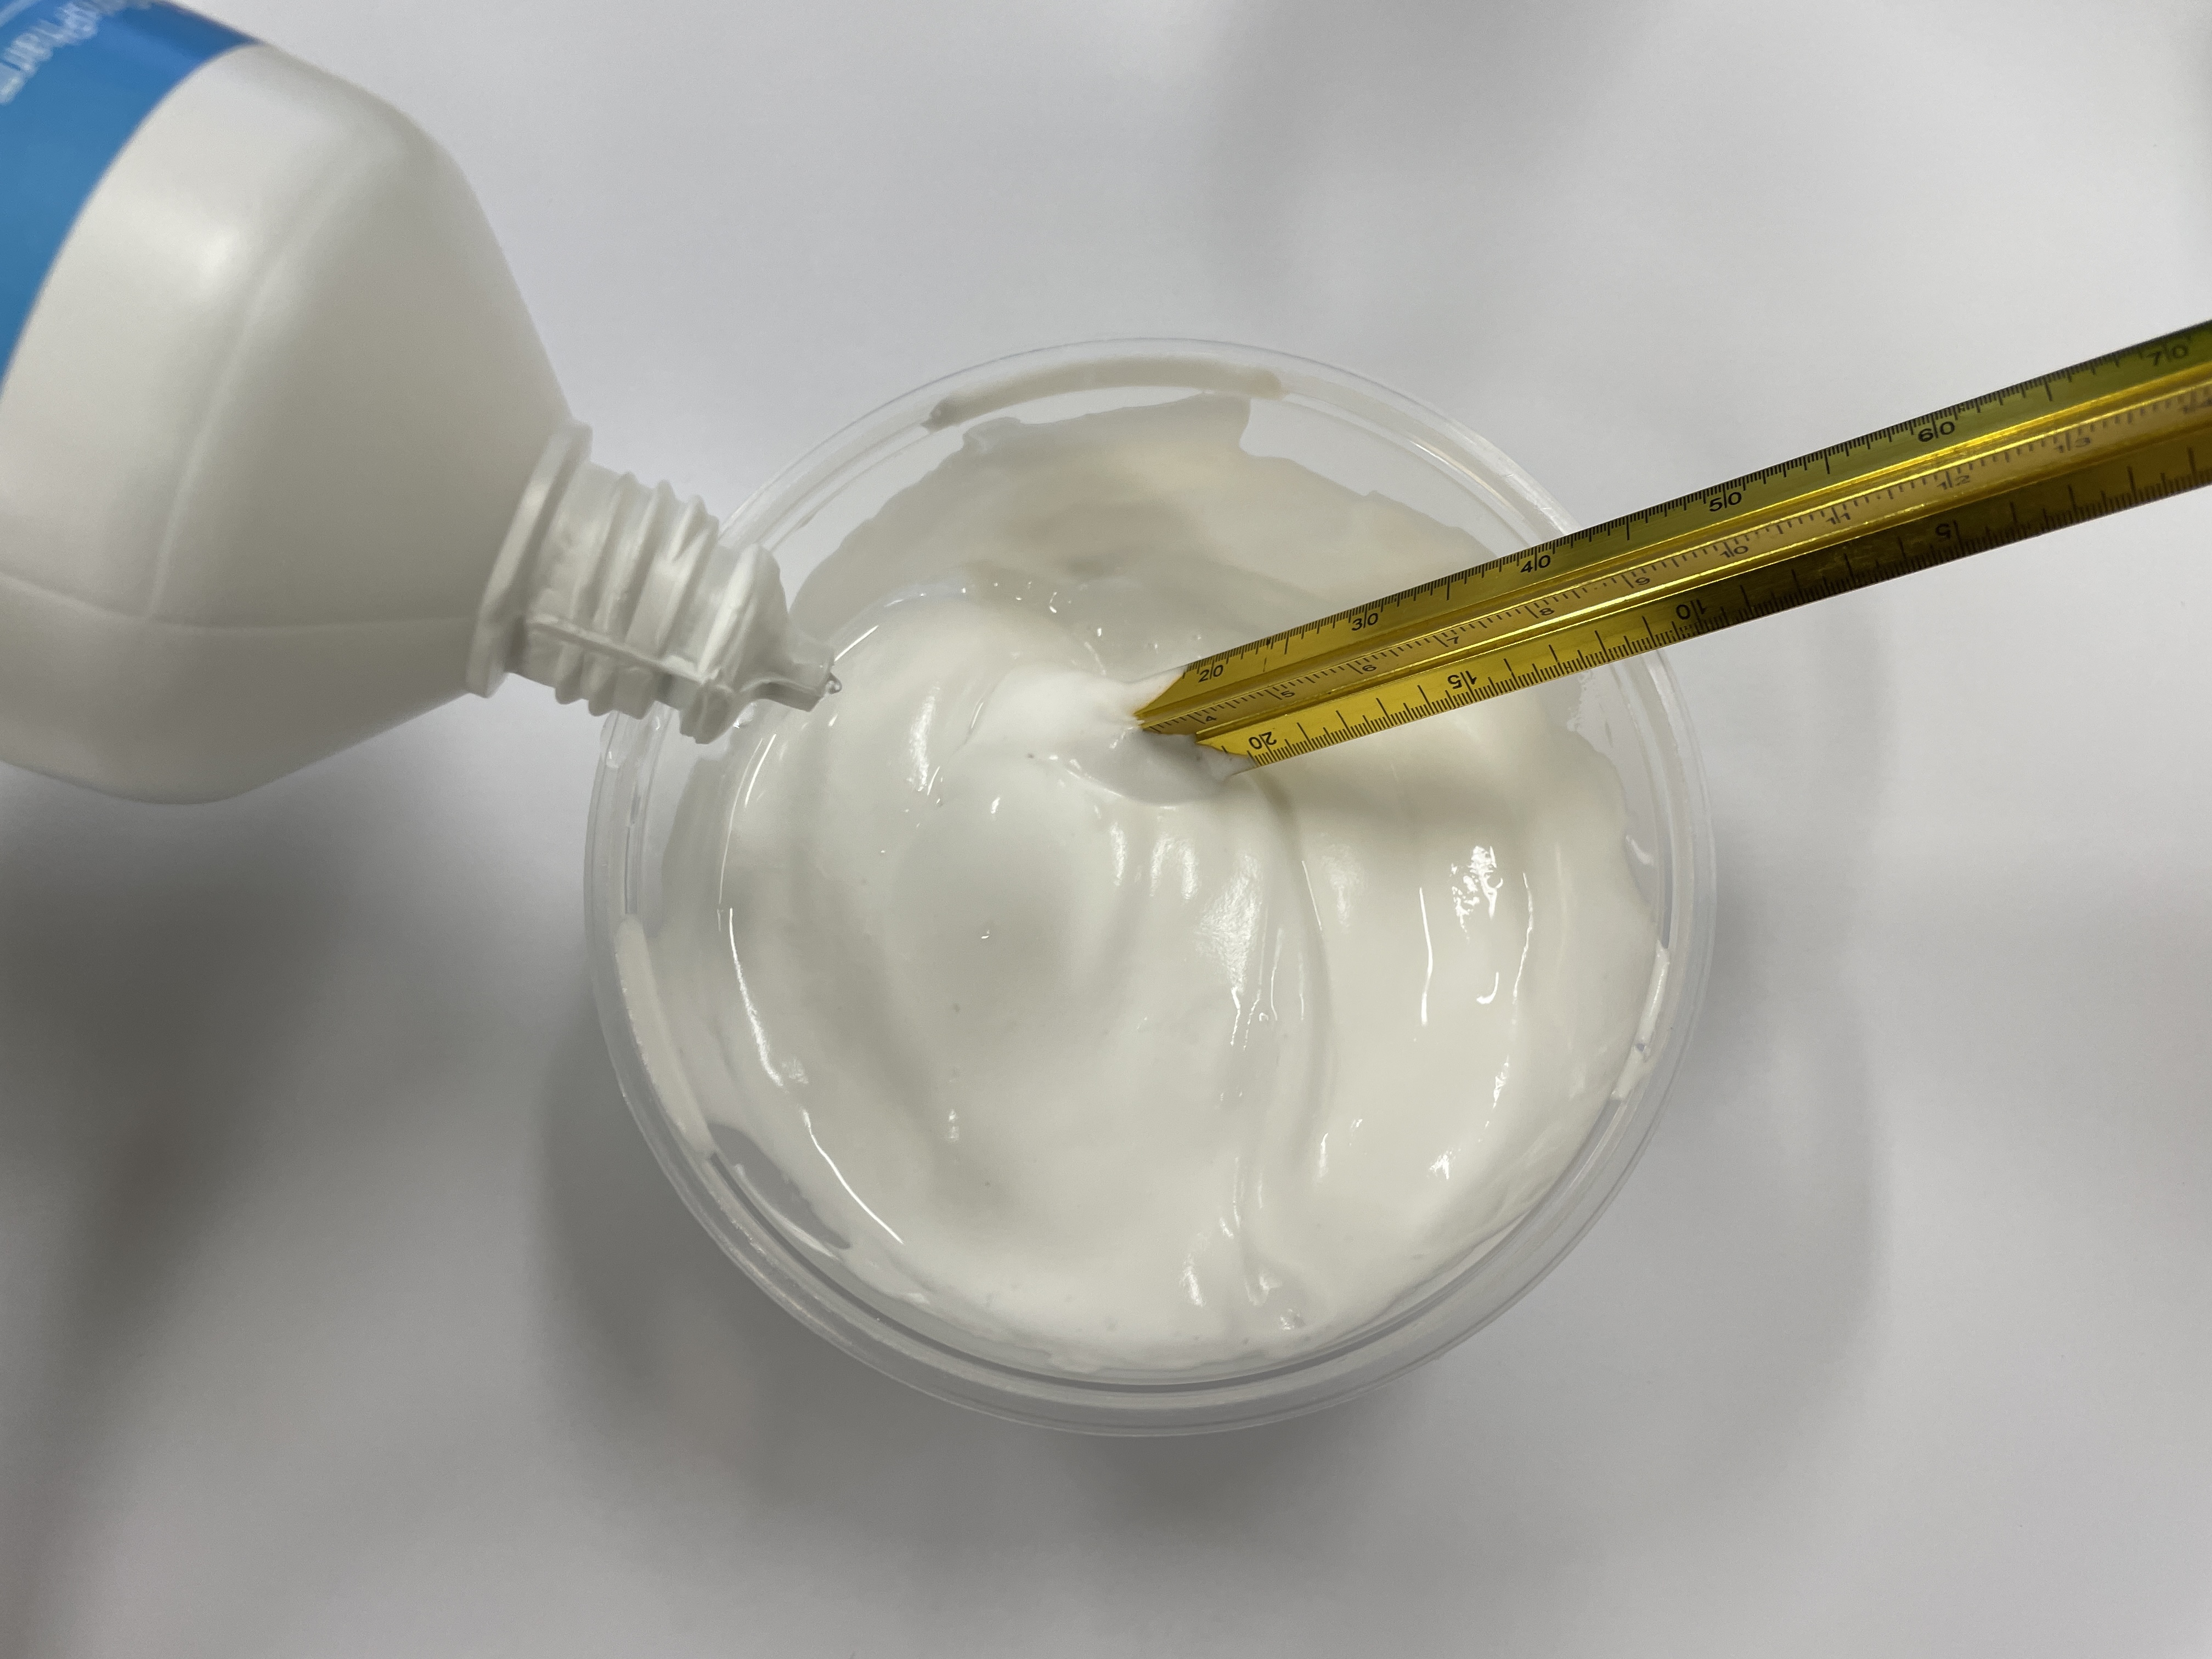
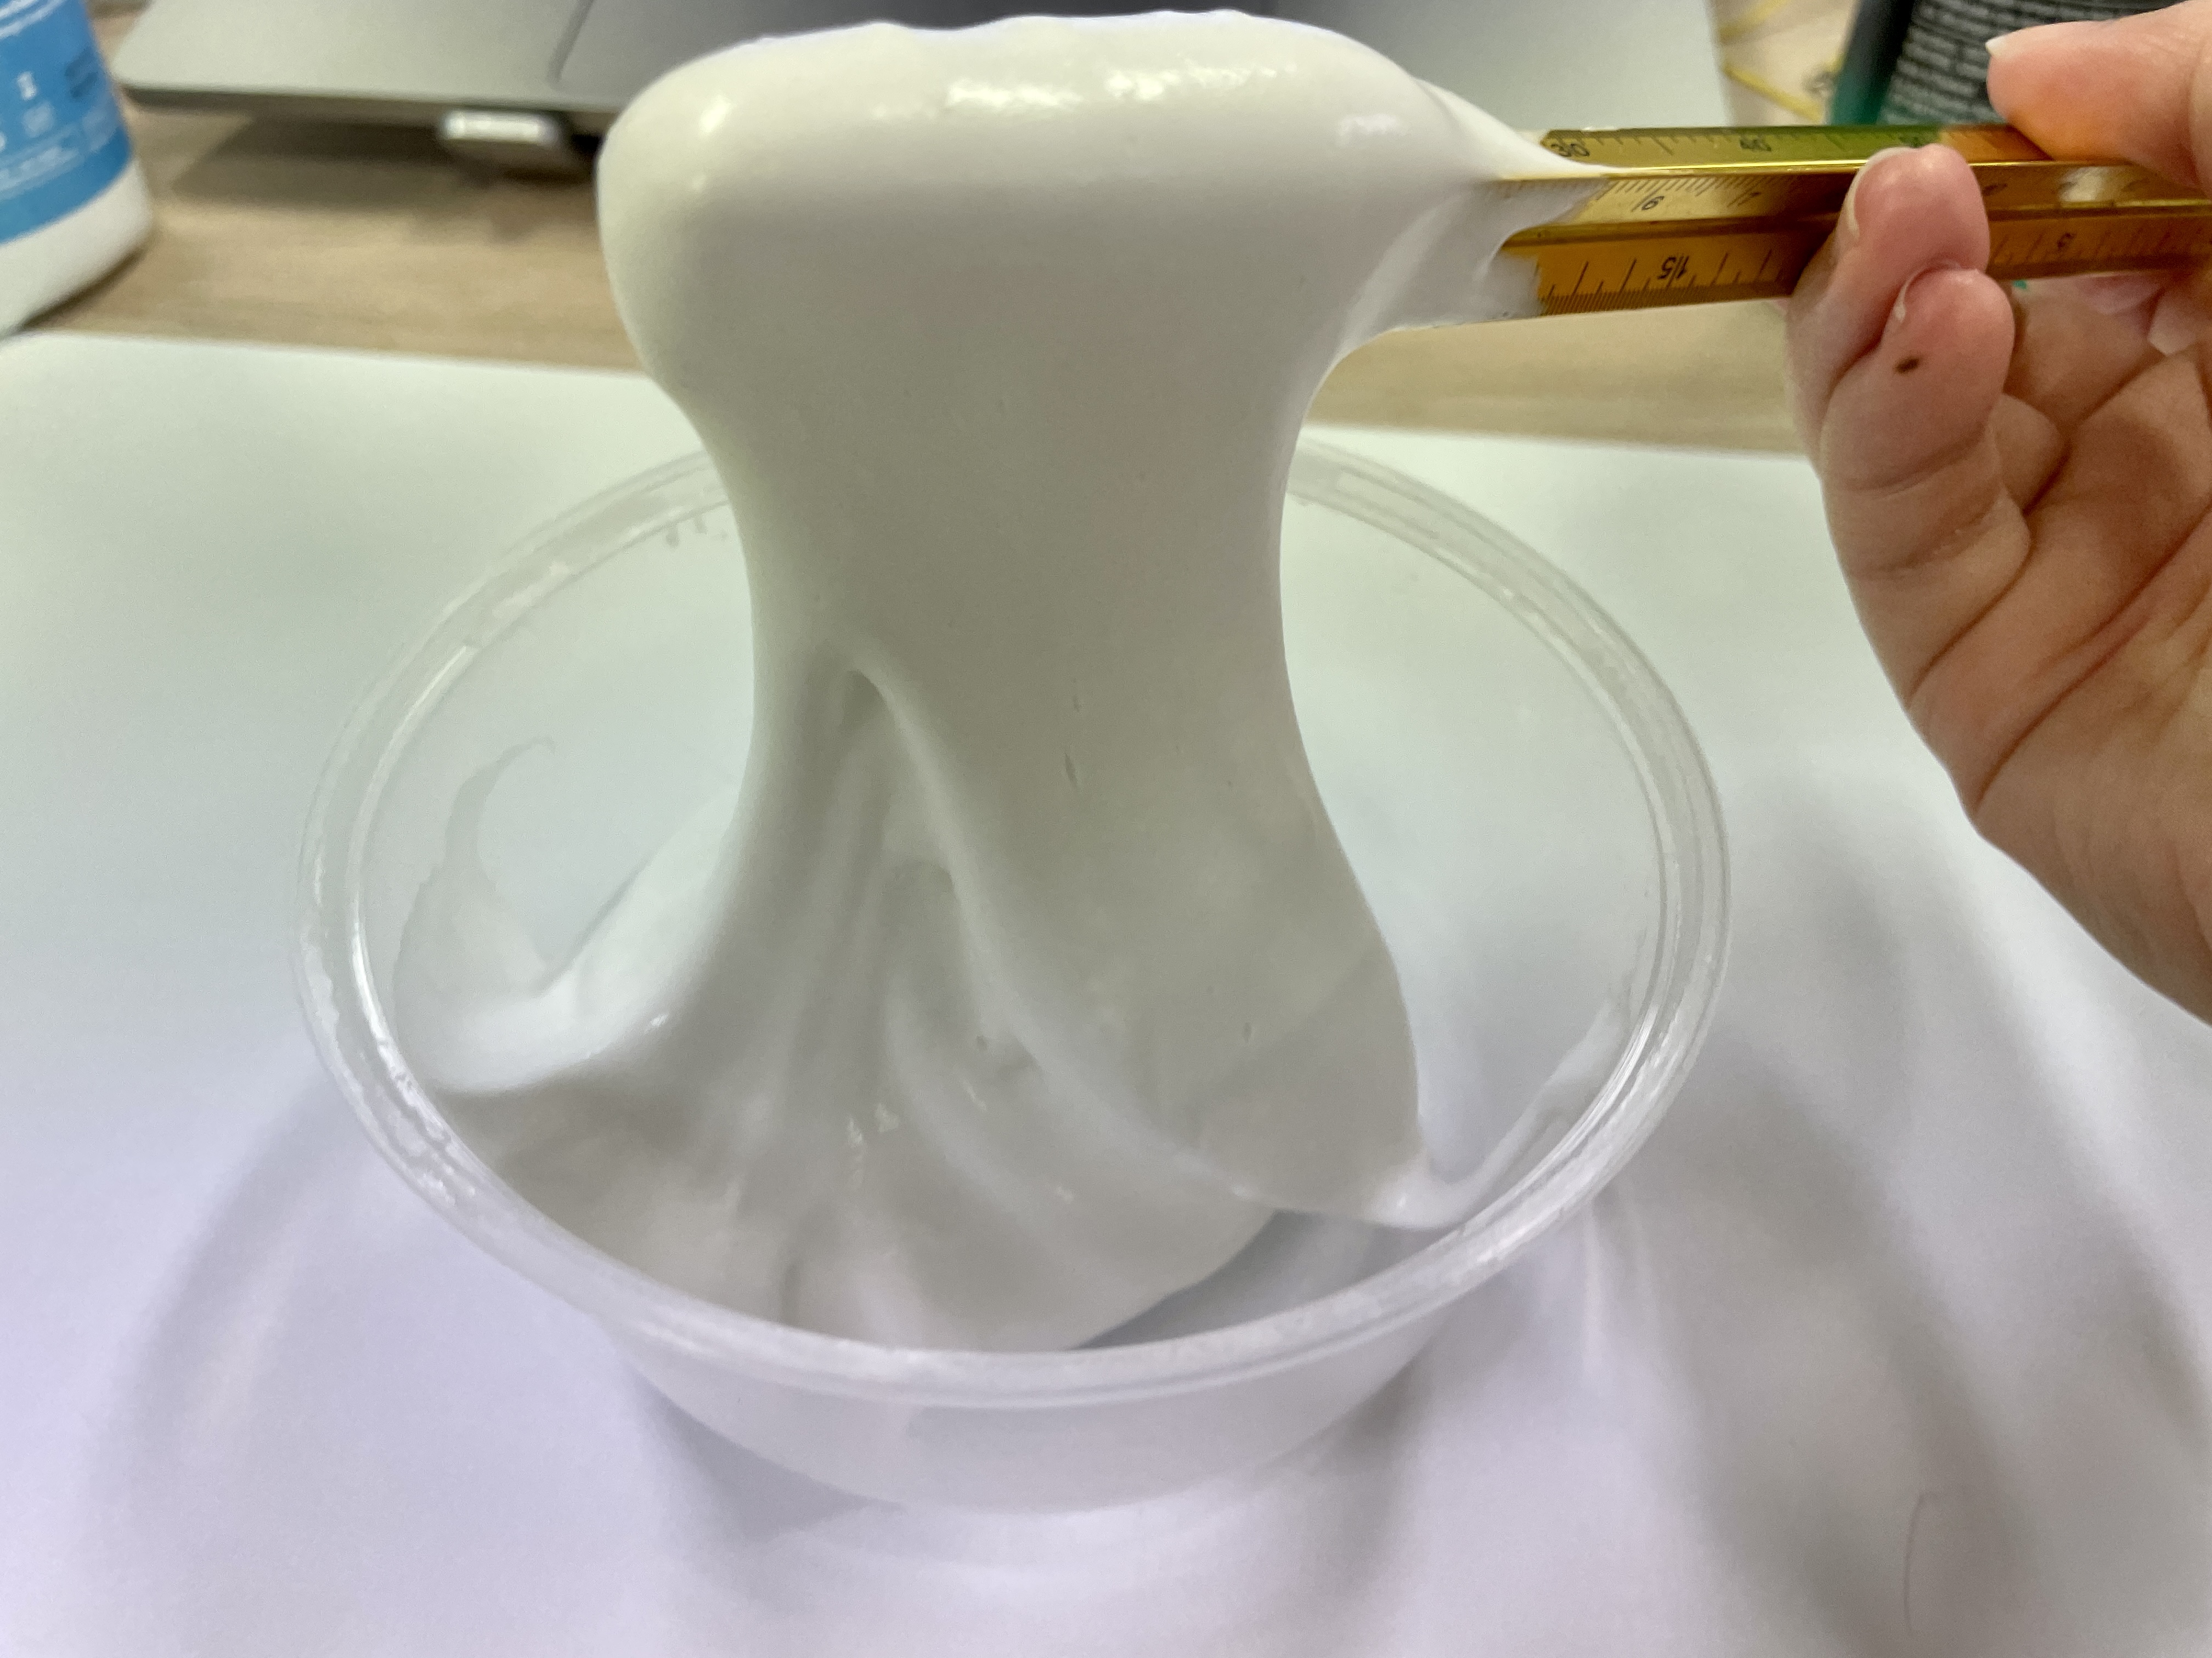
The idea involves using slime as the base and then layering another material on top. The motivation behind experimenting with slime is to recreate the tactile sensation of a stress ball, a suggestion that resonated positively with my classmates during the user testing last week. I used glue, shaving cream, contact solution and cotton balls to create the slime.

THOGHTS
Not good to use due to its smell, as well as the consistency isn’t as bouncy as I want it to be. Additionally, when the slime is pressed down, the slime stays in that specific shape instead aof going back to the original form.


BUTTON CIRCUIT WITH COPPER TAPE
I tired around with different codes to see which circuit I should use. In the end I used this one
because it was simple. However, the circuit wouldn’t work.
I experimented with various codes to see which circuit was the most suitable. In the end, I opted for
this code due to its simplicity. Unfortunately, after setting up the circuit and the code, it didn’t
work.
-
The LED light acting weird...
-
Tried another wire, but still has the same problem.
The issue was the value of the resistor I was using. I tried both 220Ω and 330Ω resistors, but the values were too small. Instead, I needed a 1MΩ resistor, as specified in the code…
-
It worked!
To have three buttons, I had to generate three values, hence why I got 3 x 1MΩ resistors and replicated the circuit of the additional two buttons following the same approach as the first one. Unfortunately, this didn’t work.
To make all three LED lights work, I solved the issues by doing the following parts:

1.
New resistors in 330kΩ each because the circuit needs 1MΩ in total. With the one I previously had, the resistors added up to 3MΩ.

2.
Need a ground for each button and not only the first one.

3.
Setting the pins for all the LED lights as outputs in the Arduino code.
-
It worked!

WEEKLY ROUNDUP
I’m feeling stressed. My initial plan was to complete my prototype by the end of this week, but unfortunately, I haven’t been able to because I’m encountering difficulties with the technicality of the buttons. This is not only stagnating my progress, but also delaying other aspects of my work, like connection the buttons and soldier to p5.js, as well as the catalogue of making and overview presentation. I’m frustrated, which I haven’t really felt this semester until now.
Since next week marks the final week of the semester, I’ve chosen to prioritise the technical first – hopefully making it work. I had other plans for my prototype, such as tactile aestethics and further materials exploring, but I will delay them until next semester.


